DIY Guide: How to Sew a Plush Toy for Kids
Sewing a plush toy is an exciting and rewarding DIY project for people of all skill levels. Whether you’re crafting a gift, developing a hobby, or creating a keepsake for a special child, this guide will teach you how to sew a plush toy from scratch. With basic sewing skills and a handful of materials, you’ll be able to craft a soft, durable toy perfect for kids. In this guide, we’ll go over the essential tools, the step-by-step instructions, and some ideas for personalizing the toy so that you can make it truly one-of-a-kind.

What Tools and Materials Are Needed for Sewing Plush Toys?
Gathering the right tools and materials is crucial for a successful project. The basics include soft fabric, scissors, a sewing machine or hand-sewing supplies, stuffing, and pins. Here’s a quick overview of each item you’ll need:
1.Fabric – Fleece, minky, or felt are soft and durable, ideal for plush toys. These fabrics come in various colors and patterns, giving you creative options.
2.Stuffing – Polyester fiberfill is a popular choice as it’s hypoallergenic and easy to find. Wool stuffing is an alternative for a more natural option.
3.Sewing Machine (optional) – A sewing machine makes the process faster, but you can also sew the toy by hand with a needle and thread.
4.Scissors and Pins – Fabric scissors ensure clean cuts, while pins keep the fabric steady during sewing.
5.Fabric Markers – These are helpful for tracing patterns onto the fabric without leaving permanent marks.
With these essentials ready, you’re prepared to begin the sewing process and bring your plush toy to life.
Step-by-Step Instructions to Sew a Plush Toy
Creating a plush toy requires several simple steps, each building toward the final result. Follow these carefully, and your toy will turn out beautifully.
Step 1: Cutting Your Fabric
Begin by cutting out your fabric according to the desired shape of your plush toy. Use a fabric marker to draw the outline, keeping your pattern simple, especially if you’re a beginner. A basic shape like a heart, star, or animal is a great choice for your first project.
Cut two identical pieces from the fabric – one for the front and one for the back. Ensure that you leave extra fabric around the edges for seam allowance. This allowance is typically about 1/4 inch but can vary depending on the fabric and design. If you’re working with a pattern, pin it to the fabric to keep it steady while you cut, ensuring that your pieces align. Accuracy in this step will help make the sewing process easier later on and lead to a more polished final result.
Step 2: Sewing the Toy’s Body
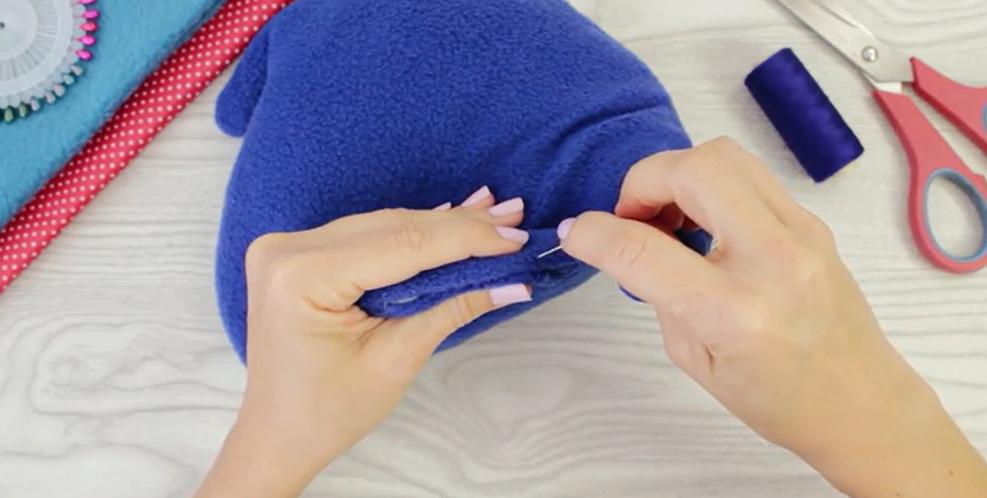
After cutting the fabric, it’s time to sew the toy’s body. Place the two fabric pieces together with the right (outer) sides facing each other. Using a sewing machine or needle and thread, sew along the edges, leaving a small opening for inserting stuffing later.
Take your time sewing, especially around any curves or corners. Small, even stitches are essential to make the seams strong and prevent any stuffing from coming out. If you’re hand-sewing, consider using a backstitch, as it’s more durable and works well for plush toys. For tight corners, stop sewing, keep the needle in the fabric, lift the presser foot, pivot the fabric slightly, then continue stitching. This technique helps to create smooth edges, especially if your design has round or angular parts. Once you’ve sewn around the edges, double-check for any gaps or uneven stitching, as this will impact the final shape and quality of your toy.
Step 3: Adding Stuffing
Now that the body is sewn, you can begin stuffing your plush toy. Insert small amounts of stuffing gradually, ensuring each part of the toy is filled evenly. Polyester stuffing is excellent for its softness, but you can also use wool or cotton stuffing for a more eco-friendly choice.
Stuffing is what gives the toy its shape, so adjust the amount based on whether you prefer a soft or firmer feel. To achieve even distribution, push small amounts of stuffing into the toy’s extremities first—like arms, legs, or corners—using a chopstick or a similar tool. Continue adding stuffing in small amounts, pressing and adjusting as you go to avoid lumps or uneven spots. If the toy has finer details, like ears or tails, take extra care to distribute stuffing carefully. Once the toy feels evenly stuffed and holds its shape, you’re ready to close the opening with a few small, discreet stitches, ensuring the stuffing remains secure inside.
Step 4: Finishing the Toy with Hand Stitches
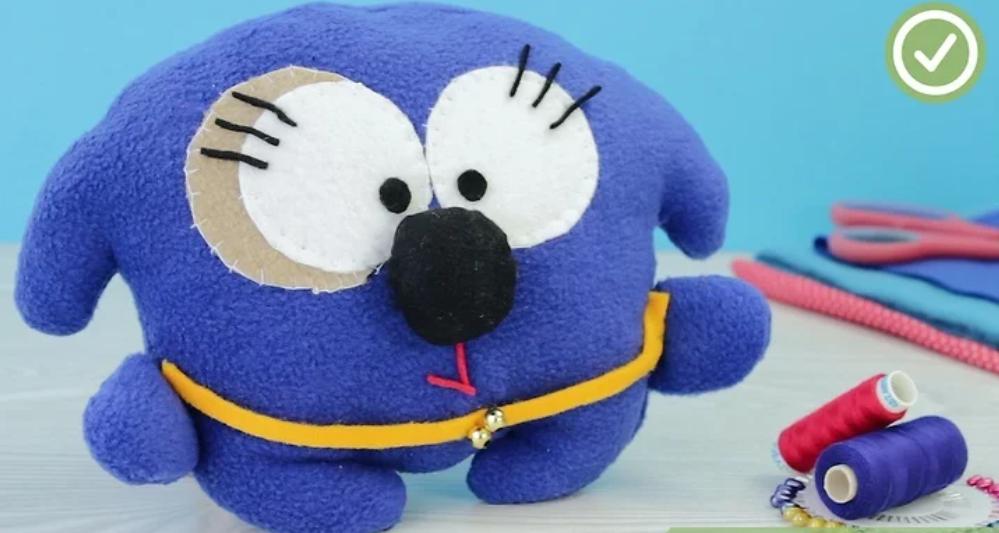
The final step involves adding any finishing touches to the toy. This is your chance to give the toy personality and charm. Sew on small details like eyes, a nose, or a mouth to create a unique expression. For safety reasons, it’s recommended to embroider these features for a child-friendly toy, rather than attaching buttons or beads that might pose a choking hazard.
If your toy has limbs or additional features, double-check that they’re securely attached, especially if the toy will be handled frequently. Consider using embroidery thread or contrasting colors to add flair, or stick to neutral colors for a minimalist look. These final touches add character and charm, transforming your plush toy into a delightful companion for children. With care and creativity, each stitch contributes to a unique, handmade toy that kids will love.

How Can You Personalize Your Plush Toy for Kids?
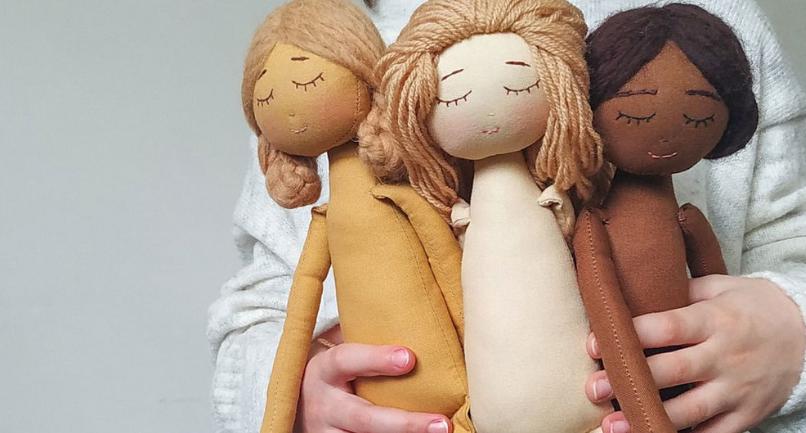
One of the best parts about making a plush toy is the opportunity to add personal touches that make it truly unique. Simple customizations, like stitching a name or initials onto the fabric, can transform the toy into a keepsake that feels one-of-a-kind. Choosing colors that reflect the child’s preferences or designing a shape that aligns with their interests—such as a favorite animal or character—adds extra meaning. Personalization can be as simple or as detailed as you like, from selecting specific fabrics to designing intricate features.
Adding small accessories, like a tiny scarf, hat, or bow, can give the toy extra character and make it even more endearing. Decorative elements like patches, embroidery, or fabric paint add creative flair, while little details, like stitched pockets or surprise elements, make the toy more engaging. If possible, ask the child about their favorite colors or themes to include them in the process. These thoughtful touches add sentimental value and make the toy feel like a specially tailored gift, turning a simple craft into a cherished memory.
Conclusion
Making a plush toy is a simple yet rewarding project that offers endless possibilities for creativity. With a few basic tools and materials, you can learn how to sew a plush toy that’s cuddly and unique, creating something kids will adore. Following these steps, from choosing fabric to adding finishing touches, ensures a smooth sewing process and a polished final product. Sewing a plush toy is not only a fun way to spend your time but also a wonderful way to create a gift that feels personal and heartfelt. Enjoy the process and the joy that your handmade plush brings!
FAQ
How much fabric do I need to sew a plush toy?
A small plush toy typically requires around ¼ yard of fabric, but larger designs might need up to ½ yard. Having extra fabric on hand can be helpful for mistakes or adjustments.
Can I hand sew a plush toy without a machine?
Yes, hand sewing is entirely possible. Use a backstitch or running stitch for strength, and keep stitches small and close together to hold the stuffing well.
What type of stuffing is best for plush toys?
Polyester fiberfill is soft, washable, and hypoallergenic, making it ideal for plush toys. Wool or cotton stuffing works well too, especially for eco-friendly options.


