How to Make Cloth Dolls at Home: A Fun Project for Kids
Creating cloth dolls at home is a rewarding and creative activity that can be enjoyed by the whole family. If you’ve ever wondered how to make cloth dolls, this DIY project allows kids to get hands-on with crafting, sparking their creativity while also developing fine motor skills. Whether you’re new to sewing or have some experience, learning how to make cloth dolls is a simple and fun way to bond with your kids. In this guide, we’ll walk you through the process of making cloth dolls, from gathering the right materials to personalizing your creation. It’s a project that encourages imagination, and by the end, you’ll have a unique, handmade doll to cherish. Plus, it’s a great opportunity for children to learn basic sewing techniques in a safe, controlled environment. Now, let’s dive into what you need and how to get started on this fun, engaging project.

What Materials Do You Need to Make a Cloth Doll?
Before starting your cloth doll project, you need to gather some essential materials. Having the right tools and supplies ensures that the process goes smoothly and your doll turns out just how you envision it.
Here’s a list of materials you’ll need:
1.Fabric: Choose soft cotton or linen fabric for the body of the doll. These materials are easy to work with and are gentle for children’s hands.
2.Needle and thread: A simple sewing needle and thread that matches your fabric color will do. You can use a sewing machine for faster assembly if you’re comfortable with it.
3.Scissors: Sharp fabric scissors will give you clean cuts, which are important for neat seams.
4.Stuffing material:Polyfill is a popular choice for stuffing dolls. It’s lightweight and safe for kids, giving the doll a plush feel.
5.Pins: To hold the fabric in place as you sew.
6.Felt or fabric for facial features and clothing: Small pieces of felt can be used for facial features, and extra fabric will allow you to create clothes for your doll.
7.Marker or fabric chalk: These are great for sketching out your design on the fabric before cutting.
Once you’ve gathered your materials, you’re ready to start creating your doll. The next step will be designing the pattern, so let’s move on to the fun part: crafting!
Step-by-Step Guide to Making a Cloth Doll
Now that you have your materials ready, it’s time to begin the process of creating your cloth doll. Follow this step-by-step guide to ensure your project goes smoothly and results in a beautiful handmade doll.
Step 1: Designing the Doll Pattern
Start by drawing your doll pattern on a piece of paper. You can go for a simple human shape with a head, arms, and legs, or you can get creative with animal shapes. Keep the design simple if this is your first time making a cloth doll. Make sure the arms and legs are proportional to the body. Once satisfied, cut out the paper pattern to use as a template.
Step 2: Cutting the Fabric
Place the paper pattern on your fabric, using pins to hold it in place. With fabric scissors, carefully cut around the pattern, making sure to cut two pieces for the front
and back of the doll. If you’re planning to add separate pieces for ears or a tail, cut those out as well. Take your time to ensure accuracy during this step, as it will affect the overall appearance of your doll.
Step 3: Sewing the Body and Limbs
Now, place the two fabric pieces together, with the right sides facing inward. Pin the edges to keep them aligned. Using a needle and thread (or a sewing machine), stitch around the edges of the doll, leaving a small opening where you can turn the doll right side out. Be sure to use small, even stitches to make your seams secure. Once sewn, turn the fabric inside out through the opening.
Step 4: Stuffing the Doll
After flipping the doll to the right side, begin stuffing it with polyfill or another soft material. Start with smaller parts, like the arms and legs, and work your way to the larger areas of the body. Be careful not to overstuff; you want the doll to remain soft and flexible. Once stuffed to your liking, sew up the opening that you left earlier, closing the doll completely.
Step 5: Adding the Details
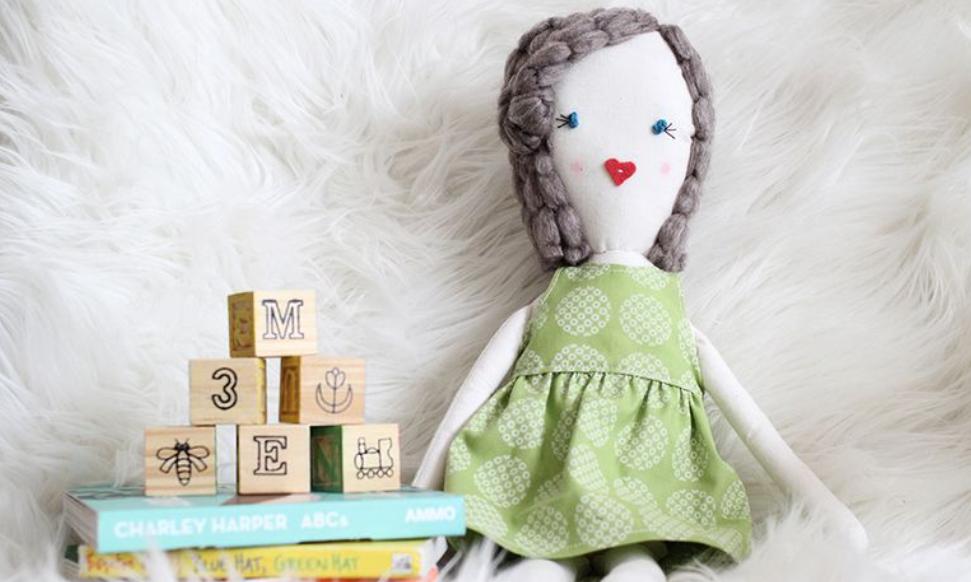
Now comes the fun part: adding personality to your doll! Use felt or embroidery thread to create facial features like eyes, a nose, and a mouth. You can also sew clothes directly onto the doll or make them removable for added versatility. Let your child’s imagination guide this step. The more personalized the doll, the more special it becomes.
Tips for Customizing Your Cloth Doll
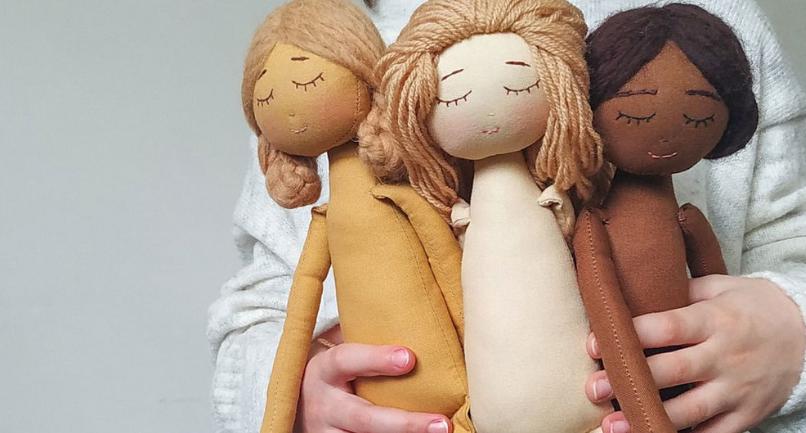
Customizing your cloth doll allows you to create a truly unique toy that reflects your child’s personality. One fun idea is to create multiple outfits for your doll. By sewing simple clothing pieces like dresses, pants, or hats, your child can enjoy dressing up their doll in different styles. You can also experiment with various fabrics for the doll’s skin tone and clothing. For example, use brightly colored fabrics for a whimsical look or soft pastels for a more traditional doll. Embroidery thread can add intricate details, such as hair or even personalized initials. For an extra touch, consider adding accessories like tiny shoes or buttons as eyes. Remember, the sky’s the limit when it comes to customizing your creation, so let your imagination run wild!
Is Making Cloth Dolls Safe for Kids?
Making cloth dolls is generally safe for kids, provided that proper precautions are taken. Younger children should be supervised, especially when using sharp tools like scissors and needles. Using child-friendly scissors and pre-threaded needles can make the project safer and more manageable for little hands. If you’re worried about small parts like buttons, consider sewing on felt facial features instead of using items that could pose a choking hazard. Also, ensure the doll is securely sewn, especially at the seams, so that the stuffing doesn’t come out during play. By working together with an adult, children can safely enjoy the process of making their own dolls, learning important crafting skills in the process.

Conclusion
Making cloth dolls at home is a rewarding and fun activity for both kids and adults. If you’ve ever wondered how to make cloth dolls, it’s easier than you think. With the right materials and a little creativity, you can craft a unique, handmade doll that will be cherished for years. The step-by-step process allows even beginners to follow along easily, and there’s plenty of room for customization. It’s not just about making a toy; it’s about creating memories and spending quality time together. Now that you have everything you need, gather your materials, and start making your own beautiful cloth doll!
FAQ
How long does it take to make a cloth doll?
The time it takes to make a cloth doll can vary depending on the complexity of your design and your sewing experience. On average, it may take between 2 to 4 hours from start to finish, including cutting, sewing, and decorating the doll.
What type of fabric is best for making cloth dolls?
Soft cotton or linen is ideal for making cloth dolls because they are easy to work with, durable, and soft to the touch. For more detailed features like clothes, you can experiment with other fabrics, such as felt or wool.
Can beginners easily make cloth dolls at home?
Absolutely! Making cloth dolls is a beginner-friendly craft. The steps are simple, and you don’t need advanced sewing skills to create a beautiful doll. Plus, it’s a perfect project to try with children, who will love personalizing their new toy.


